
站点设置
以下更改全部用Visual Studio Code,一般情况下绝大部分站点设置,都是通过更改config.yaml文件其路径为(D:\mywebsite\myblog\config.yaml);主题官方配置文档地址:https://stack.jimmycai.com/。
添加web图标(favicon.io)
选定的图片存放路径是(D:\mywebsite\myblog\static\img)在img文件夹里放入你图片)
设置你的config.yaml文件,找到下面的代码更改:

|
|
添加评论系统
在disqus注册账号,跟着提示走。在config.yaml文件,找到下面的代码更改:
|
|
去掉主页右下角标签云
|
|
加top向上返回按键
修改D:\mywebsite\myblog\themes\hugo-theme-stack\layouts/partials/footer/custom.html的custom.html文件夹(空一行加入下面代码)
|
|
背景加上随点击随机变化的彩带,
位置同上条修改D:\mywebsite\myblog\themes\hugo-theme-stack\layouts/partials/footer/custom.html的custom.html文件夹,
在上面那一大段代码后空一行加入下面代码:
|
|
同样的实现彩带的另外一种方法
就是用全代码的方法,那就不要添加上面的代码,而是是加入下面代码:
|
|
修改档案归档的样式为双栏排列
 修改路径(\themes\hugo-theme-stack\assets\scss\custom.scss)加上下列代码:
|
|
修改链接的样式为双栏或三栏排列
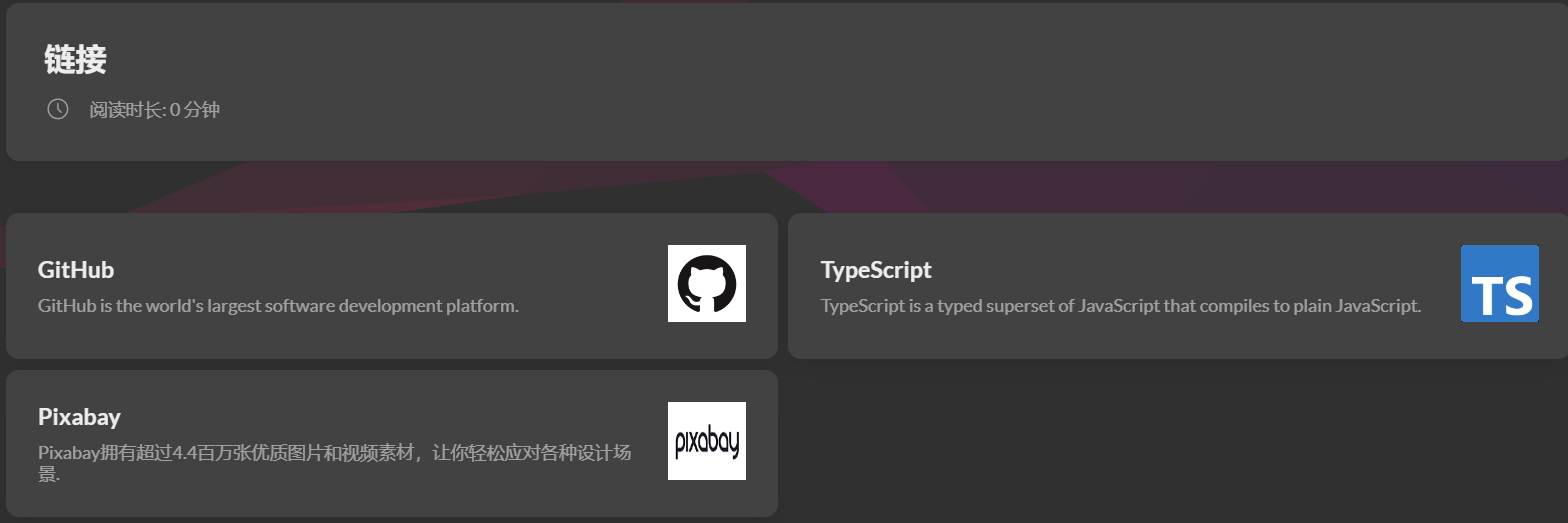 修改路径(\themes\hugo-theme-stack\assets\scss\custom.scss)加上下列代码:
双栏:
|
|
三栏:
|
|
配置头向下的个人社交展示信息
需要修改config.yaml的menu:下内容
|
|
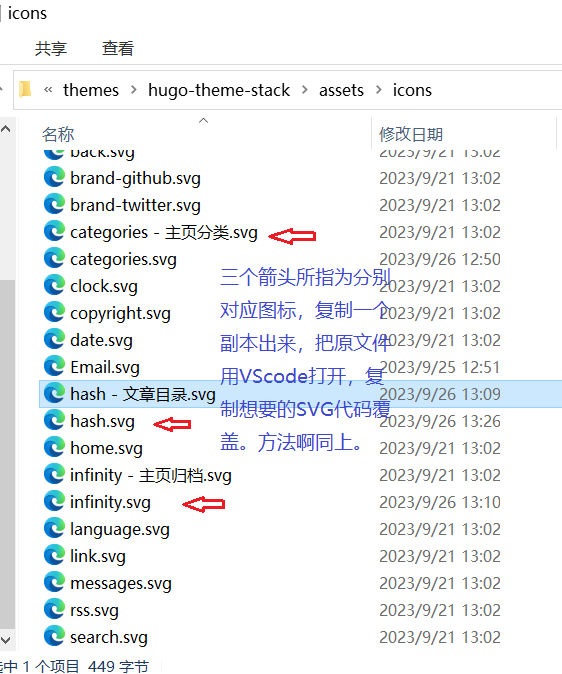
获得.SVG文件
因为 Stack 主题内置的小图标有限,更多的 SVG 图标可去 TablerIcons 获取。
进入页面以后,默认设置不需调整,在搜索栏输入你想要的图标名称(英文),然后选一个喜欢的图标,就单击它,于是你就复制了它的代码。
进入 \assets\icons 文件夹,随便选一个 .svg 文件,复制粘贴一个副本出来,这个副本用 Visual Studio Code 打开,删除它的代码,然后用你从 TablerIcons 复制来的代码粘贴进去后保存,再给图标改为对应的名字。
若图标颜色与主题的明暗主题不合,再将里面代码 stroke= 后面引号内的色号替换成 currentColor。
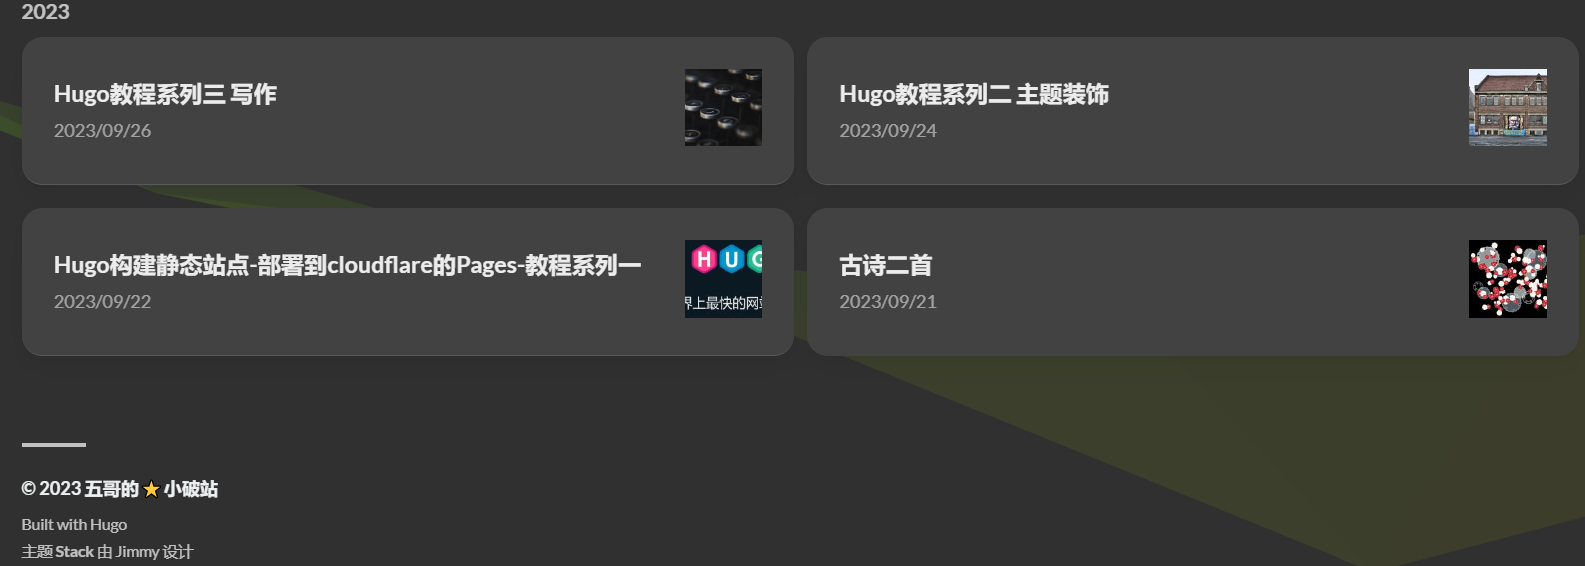
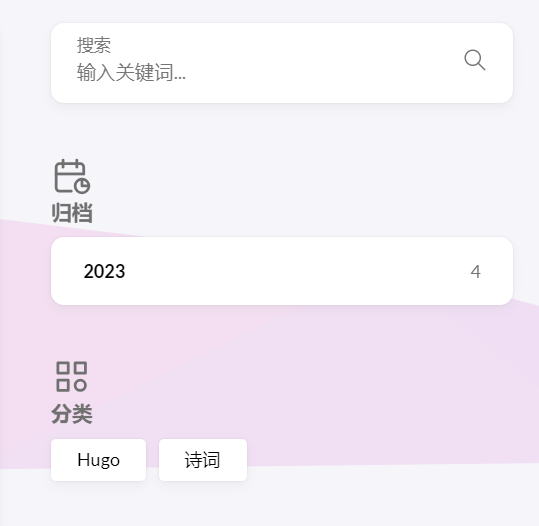
更改主页归档和分类图标及文章目录图标
只需要更改\assets\icons 文件夹类相对应的图标即可,注意下图中的箭头所指的svg文件,有两个相同英文文件名开头的.svg.中文标注的是原文件,没有标注的是更改了的文件,也就是说要改的是全英文名字的.svg.
 若图标颜色与主题的明暗主题不合,再将里面代码 stroke= 后面引号内的色号替换成 currentColor。
效果:
开启谷歌分析和搜索
谷歌分析:
登录官方网站网站地址,需要申请一个谷歌分析账号,或用你已经有的谷歌账号登录也可。
根据提示注册完毕后,到主页,右下角点管理-媒体资源下-数据流-点击网站数据流-复制衡量 ID
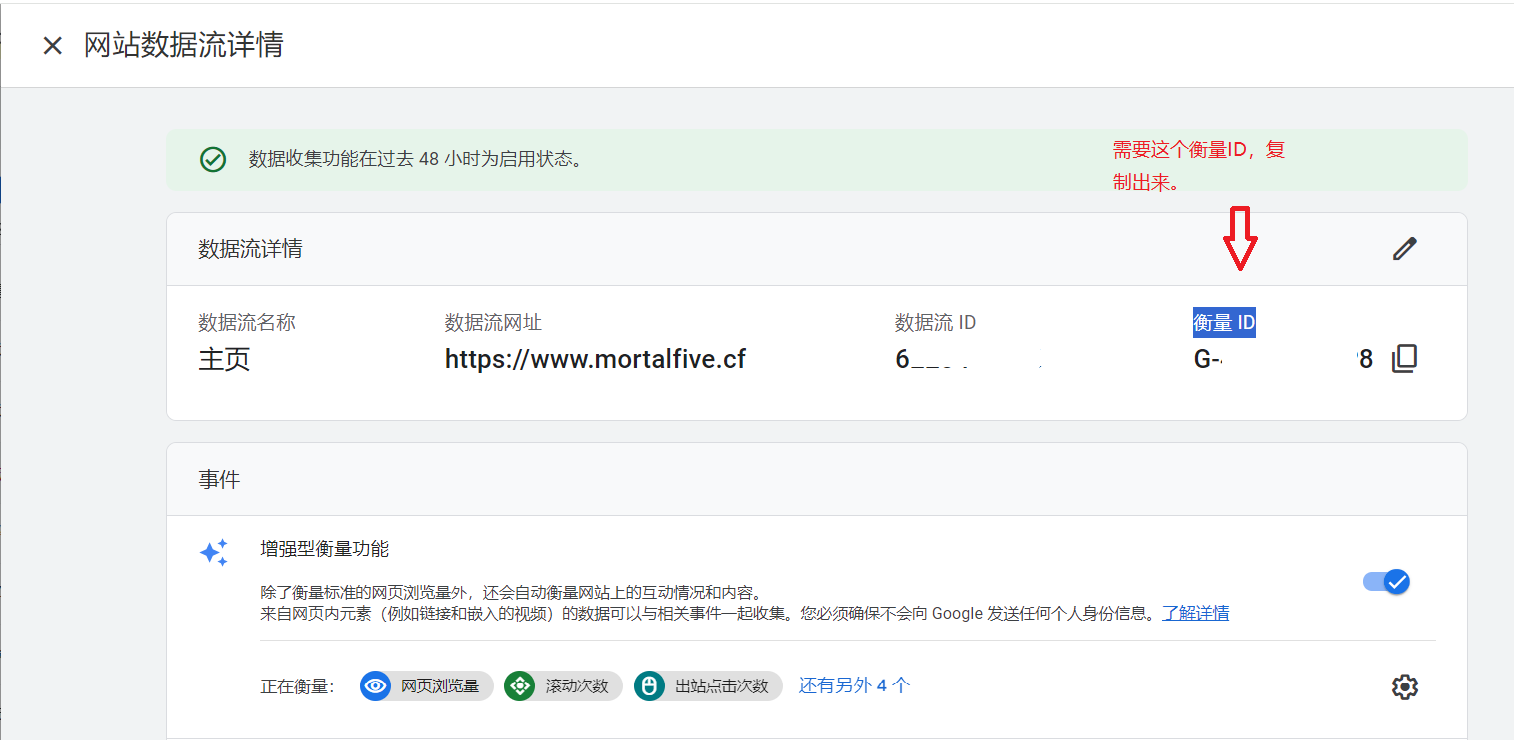
stack主题集成了对谷歌分析的支持,只需要把上面的衡量ID复制到(D:\mywebsite\myblog\config.yaml)打开config.yaml找到下面:
|
|
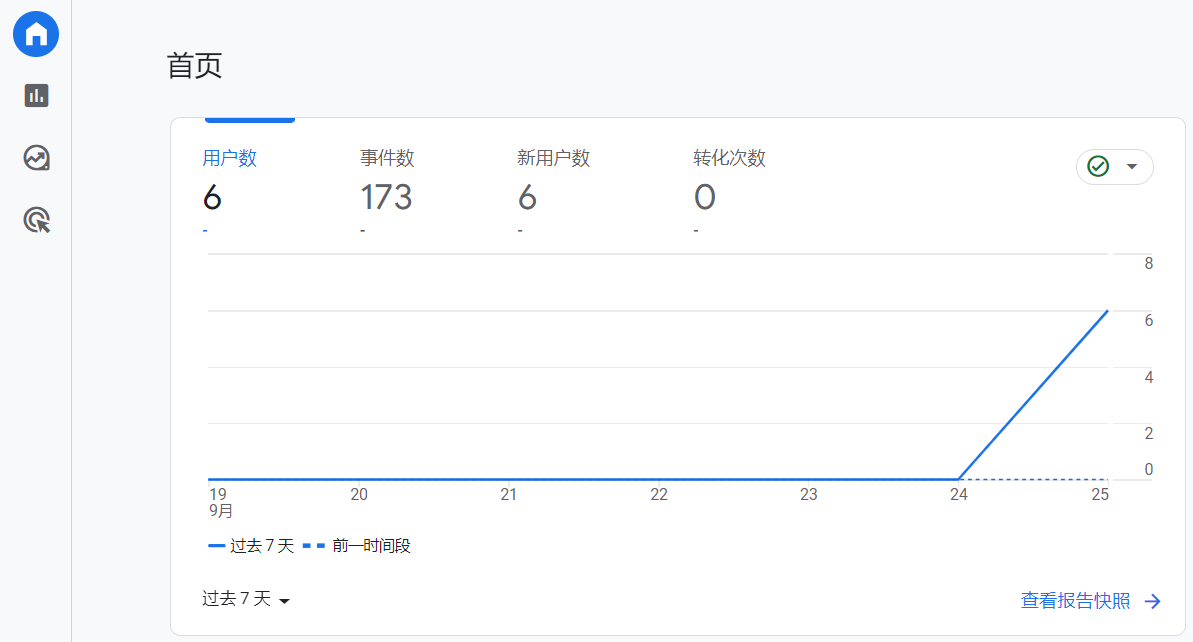
完成上面,就是下面效果:
谷歌搜索添加站点地图
选择网域或网站前缀及验证
站点地图是一个存储有站点网页信息的XML数据文件,通常命名为sitemap.xml,将它提交给搜索引擎,搜索引擎将可以获取我们网站的网页信息。
Hugo会在生成和部署网站时在public文件夹下自动生成sitemap.xml文件。 我们把站点地图提交到谷歌搜索,具体说明可参见谷歌站长页面的说明,下面是具体操作:
点击打开添加地址根据提示选择一个填入
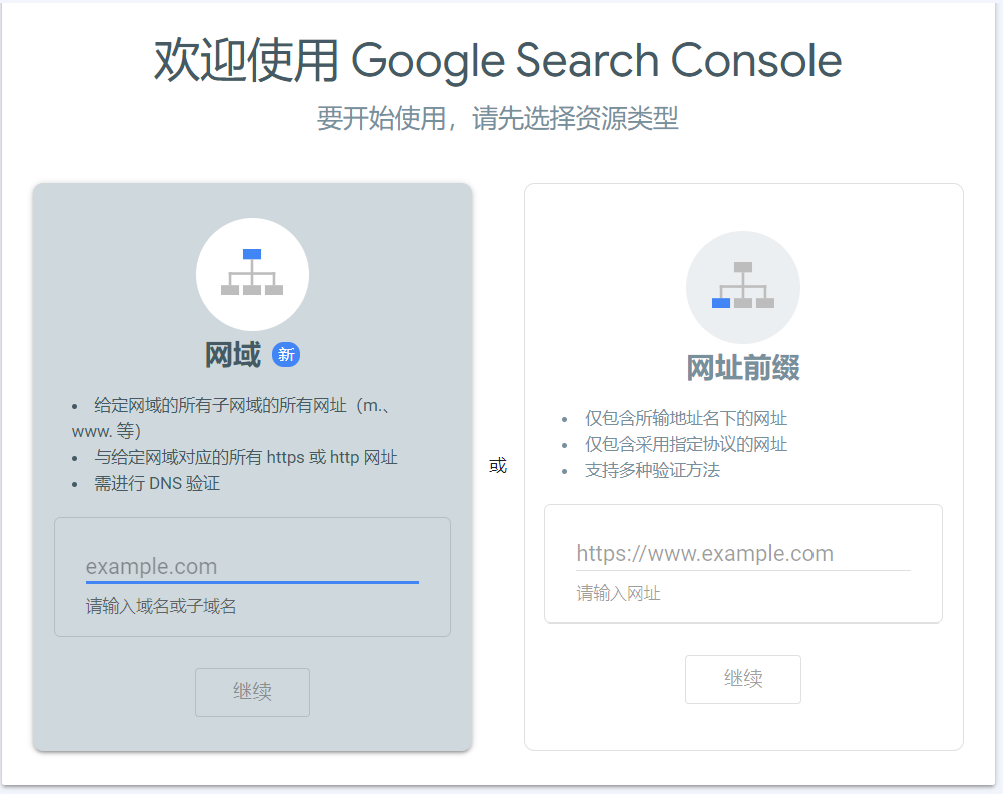 验证最简单的三种:(其中网域只能用DNS进行验证,网址前缀可以多种验证)更详细的验证请看官网文档
(1)HTML 文件上传,相对简单,但您需要能够上传文件,并将其发布到您网站上的特定网址。下载HTML文件到public文件夹,再推送到网站)
(2)Google Analytics(分析)跟踪代码:如果网页已包含与您可以访问的 Google Analytics(分析)帐号相对应的 Google Analytics(分析)跟踪代码,使用此方法就很简单。如果网页不包含跟踪代码,您必须添加跟踪代码,这可能需要创建一个 Google Analytics(分析)帐号(如果您还未创建的话)。
(3)域名提供商:验证网域资源的唯一方法。如果您的域名提供商已在验证向导中列出,此过程就非常简单。网域资源非常有用,因为其中包含资源的所有协议 (http/https) 和子网域变体的数据。
提交站点地图
我的提交是这样的,不过失败了,我用的是网域方式:
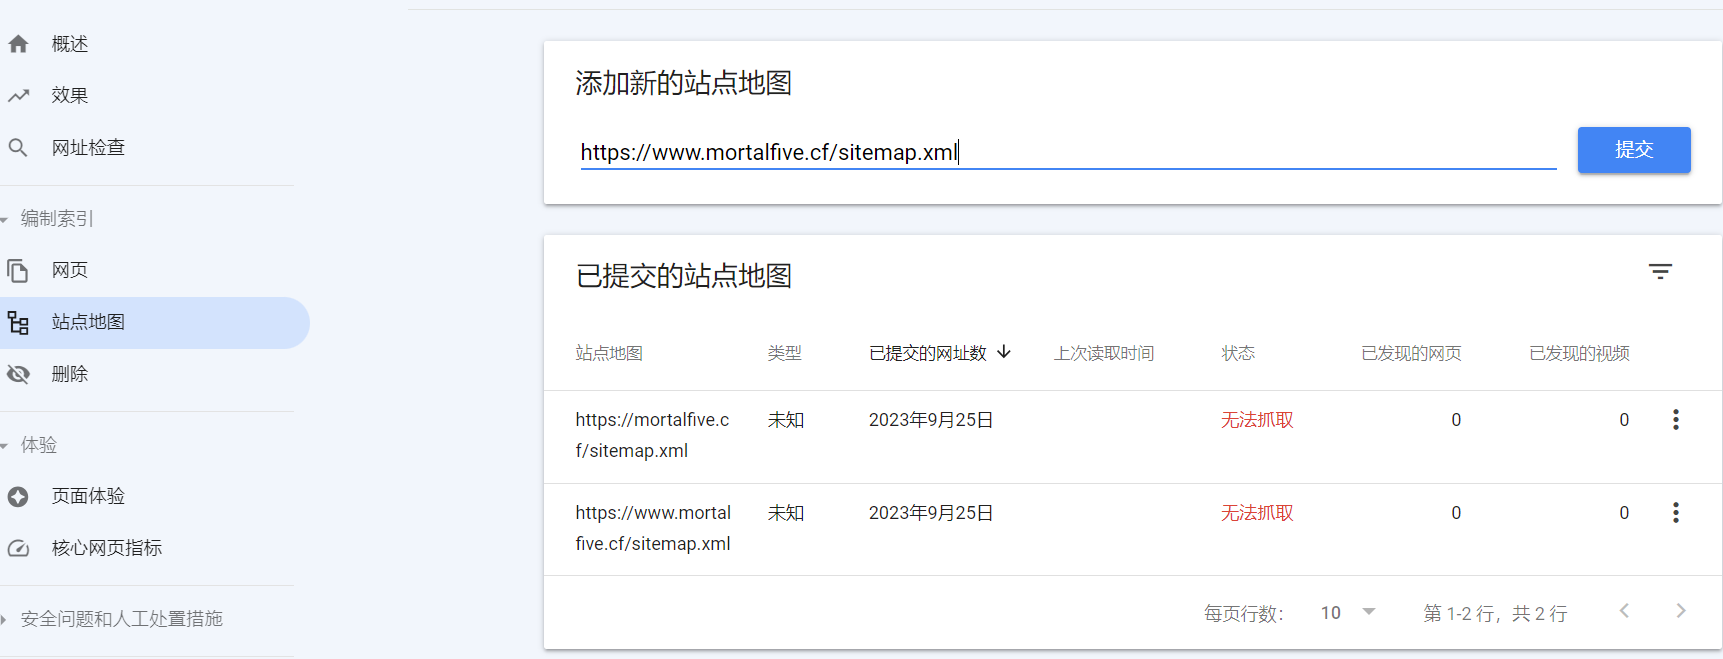 尝试了很多方法,依然不行,我估计原因有二:一是域名是免费的,二是.xml文件不规范,懒得弄了。
下面是一位博主写的关于谷歌搜索优化的链接点击打开
添加打开网页时的加载进度条
代码增加到 /themes/hugo-theme-stack/layouts/partials/footer/custom.html
|
|
改变文章内代码块样式为MACOS样式
(1)在位置D:\mywebsite\myblog\static\下创建一个img文件夹,呈现:(D:\mywebsite\myblog\static\img),复制一个.svg到img文件夹,并将其改名为code-header.svg,复制以下代码覆盖code-header.svg的所有内容:
|
|
(2)增加以下代码到\themes\hugo-theme-stack\assets\scss\custom.scss
|
|
固定文章内代码块的高度
高度限制在 26em,并隐藏滚动条.增加代码到 /themes/hugo-theme-stack/assets/scss/partials/article.scss
|
|
给网页左下角加一只小黑猫
将下面代码添加到\themes\hugo-theme-stack\layouts\ _default\baseof.html中的 {{ partial “footer/include.html” . }}以下:
|
|
加蜘蛛网汇聚鼠标的蜘蛛网
添加到\themes\hugo-theme-stack\layouts_default\baseof.html 文件;(代码添加到{{ partial “footer/include.html” . }}下面);后面的3个数字可RGB调色(i, “color”, “135,206,235”)
|
|
致谢
感谢来自互联网大神们的神奇代码